1/48 Zaku 2 Recap
Short recap taken from the blog pages I did for this large scale 1/48 Zaku II.
The 1/48 Zaku II is in the “Mega size”
range from Bandai, but the kit itself does not have that many
parts & the inner frame does not have that much detail compared
to say a PG or even an MG Zaku. That being said it was nice to
use it for a practice bed on some ideas on paint schemes &
effects without having to worry about ruining an expensive kit.
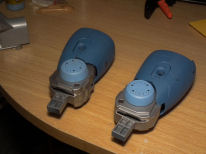
The first area I started on is the feet. The bottom sections are made of just 2 parts & after fitting were given the Halfords undercoat then Vallejo Black primer. Please pay attention to how parts G2 & G3 go on the ankle as the larger piece must go on the front facing end.
When I looked at the upper feet I was not happy with the size of gap in the joints and I used my normal plastic filler & after sanding checked to see how it was looking. To add a bit of detail I used some Gun Metal Grey to represent bolts and for the foot base I did some detailing with Dulaluminium, Magnesium & Brass.
The lower leg is mainly 2 large pieces with some back detailing on, so I am going to do this as a complete unit to ease in painting together with the engine detail parts.
The legs were sprayed in the UK Mediterranean Blue, hand painted the recessed areas in Steel, Dulaluminium then finally Burnt Iron. Using a cocktail stick I put very small amounts of Gun Metal Grey and Aluminium on the legs for detailing.
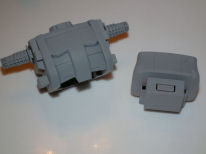
The torso is made of very few parts for such a big kit & again only some painting will enhance the model.I made an error due to me getting a bit too vigorous with the scalpel blade when trimming off the nubs with the side armour, so it was given a sanding & then primed for later painting.
Please check the way the poly caps fit at the bottom of the knees as I forgot & wondered why it would not go together at first.
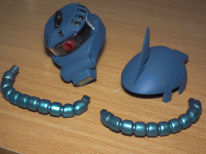
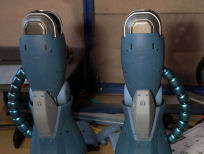
Now for some “bling” on the energy cables. These may be small pieces but they did need a lot of gentle sanding & filling to get the desired smoothness of each of the bands, but I can assure you it is well worth the effort. The cables were undercoated & sprayed with gloss black.
The reason for the gloss is the next coats I am going to put on are light covering of Vallejo Chrome to provide a nice shine & then a couple of light oversprays of Ammo Of Mig Metallic Blue that are just enough to provide a light blue tint.
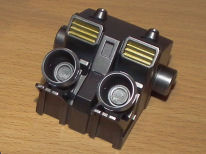
The backpack is one large moulded piece with two exhaust verniers at the bottom. The backpack was sprayed in Steel & some highlights of Duraluminium, Burnt Iron & Brass on the vents.
The covers for the top of the leg were painted with the darker UK Mediterranean Blue & with Steel for highlights where I thought it was needed. These & the knee covers just push into place.
To add some contrast the knee cover was primed & painted in the same Light Grey as the torso with some of the darker blue just to blend them in a bit. All these bits now push into the already made lower legs & they are nearly done.
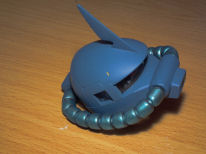
All the pieces for the side energy cables were sanded & primed as before & went through the same painting process to produce the very shiny metallic blue effect. I tried to be smart at first by putting the large parts on the kit & then fit the small single pieces; well I pushed to hard & caught the metallic paint so had to sand & re spray one side.
The hands for the Zaku come in various designs to use with or without the rifle. At this stage, I had not decided which to have, so cleaned up & primed all the parts for the hand & the protective armour.
The rifle comes in various sections, so these were glued & sanded, but not put together at this stage. To give some subtle shading effects for the rifle instead of doing all the priming in Gloss Black I did the handle, magazine & targeting sight in grey.
The 2 parts for the right hand clip over the trigger & grip, then the back armour clip on the outside. The rifle is now ready to go on the Zaku.
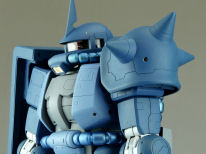
All that is now left to do is to push the pre made arms, legs & head onto the torso & connect up the gun & there you have it, one vary large & blue Zaku II.


